The networks supported in Zenland escrow contracts are the popular networks that can be easily added to Metamask in just a few clicks. This is done internally and you don’t have to leave the website.
Step 1. Log in with the Metamask account.
Step 2. From the Top Panel click on the network displayed.
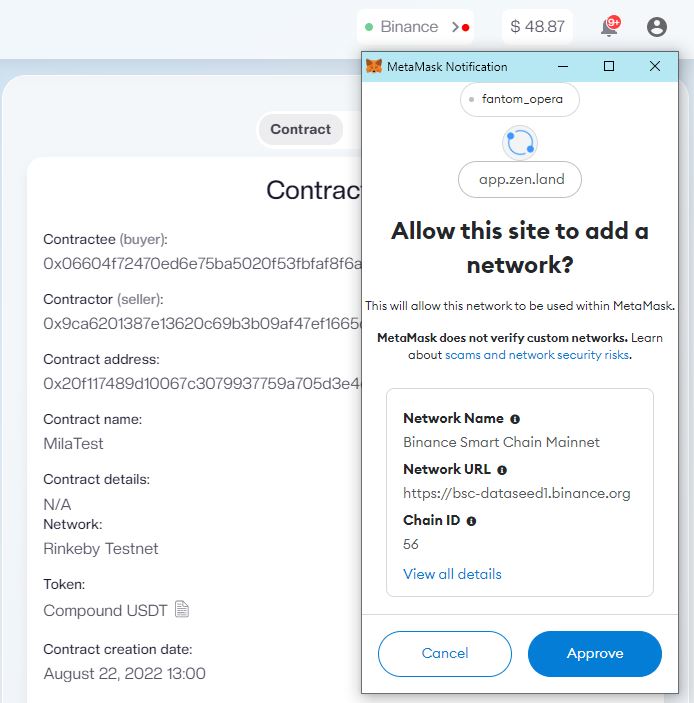
Step 3. Choose the network from the dropdown. The message with the network details like RPC, Chain ID, and decimals will appear in your Metamask window.
Step 4. Check the details and click “Add” to add the network to your Metamask account.
Another way to do that is through any network listing website.
- Go to a network listing website (chainlist.org for example)
- Click “Connect” to connect the site to your Metamask wallet and transfer the network data.
- Confirm the connection inside the Metamask window.
- You will see the “Add to Metamask” button under the selected network.
- Click on it and “Approve” the details like the network name, RPC, chain ID, and currency symbol you see in the Metamask window.
That’s it.
The same can be done for test networks through the Chainlist website, or internally, by selecting the appropriate test network from the network dropdown on the Top Panel.